This page will provide you with step by step instructions for generating the Legacy Cash Reports, regardless of any prior experience with the Web-GAAP application.
NOTE - If you have contracted with an accounting firm that uses Web-GAAP for your GAAP conversion and you want access to the Legacy Cash Reports, you will simply need to request a user account and access to your school’s data (if you do not already have access). Then, log in, select your district and appropriate year and view the Legacy Cash Reports. Your accounting firm’s staff will typically upload your cash data and map the funds as part of the conversion.
Step 1
If you already have a Web-GAAP account and are familiar with logging in, skip to step 2.
If your school does not currently utilize the Web-GAAP application, you will need to contact the fiscal department at your ITC to request an account for the district and each user that will need to access the reports. Please include the following for each user that will need an account:
- First and last name
- email address
- contact phone number
- read-only or update access
- fiscal year you want the user to have access to
NOTE: Even if you are strictly utilizing the Web-GAAP application to have access to the Legacy Cash Reports, you will need update access.
Click on this link for additional Web-GAAP Contact Information.
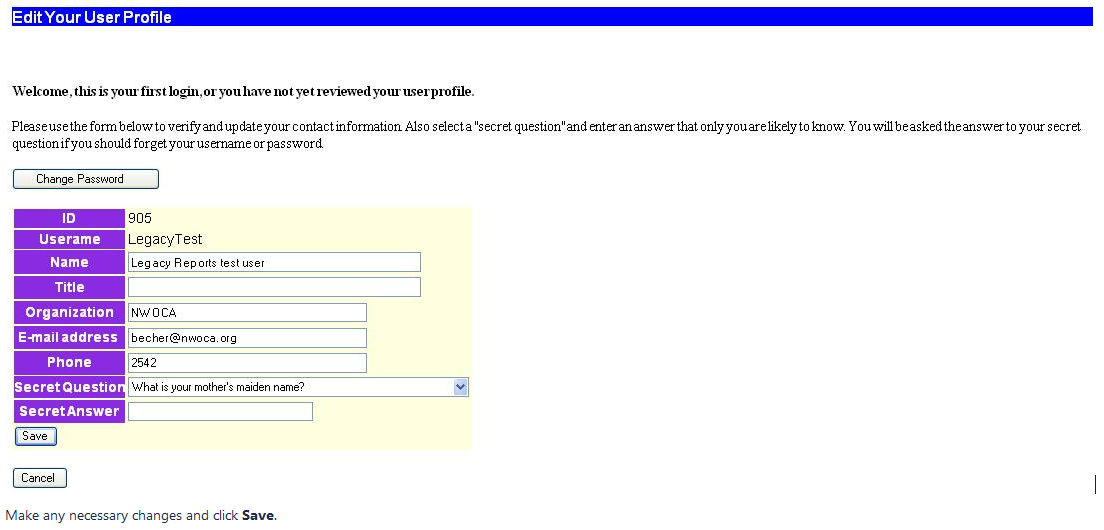
When logging in to the Web-GAAP application for the first time, you are immediately prompted to update your profile. At this point you can also change the password you were issued by clicking on Change Password.

Make any necessary changes and click Save.
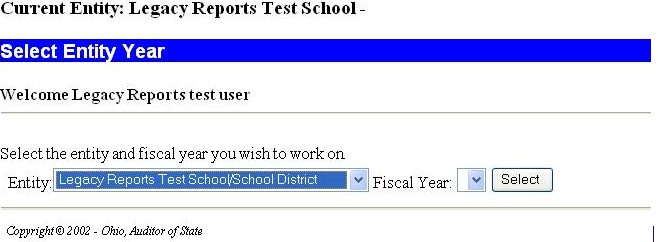
At this point you will be taken to the main menu where you will need to select the Select a Different Entity or Year link. Brand new accounts/users to the system will see the following:

Click the Select button.
You will be taken to the Open New Fiscal Year screen to create the fiscal year.
Step 2
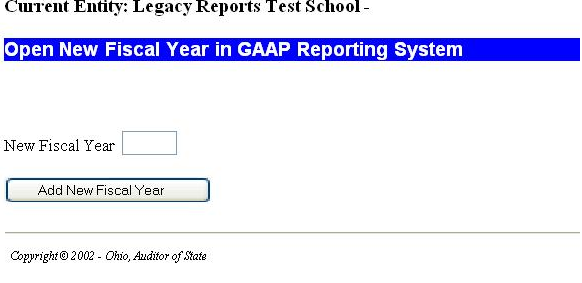
The Open New Fiscal Year option is available from the Setup menu. This will need to be done before uploading the new cash data.
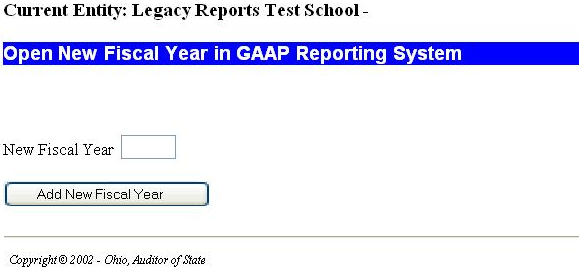
Enter the fiscal year and click on Add New Fiscal Year.
After adding the new fiscal year you will me taken the main entity/fiscal year selection page as seen above (Select Entity Year).
Click Select to select the fiscal year needed.
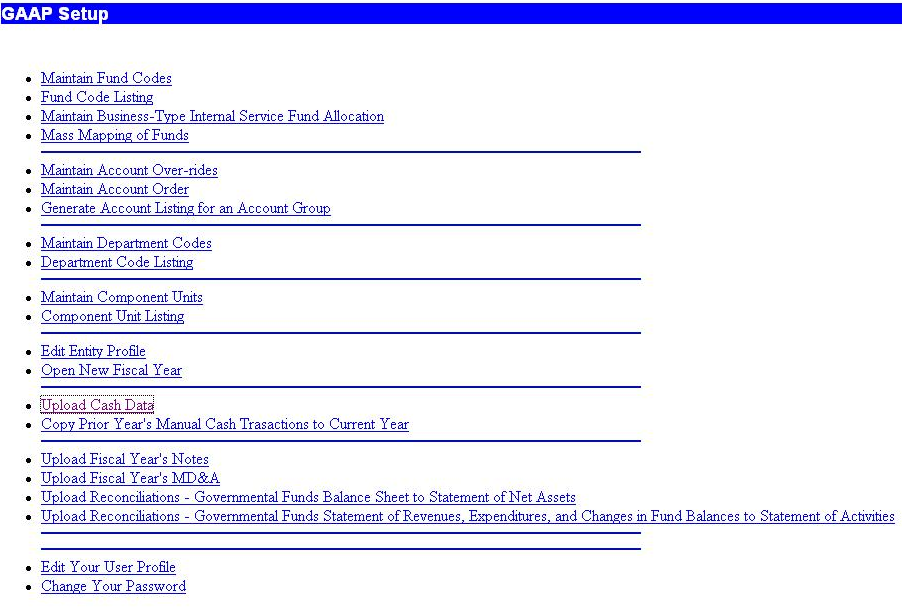
Step 3
Once you have logged in and selected/added the appropriate fiscal year, you will click on Setup to view the setup menu options. Click on Upload Cash Data.

Next you will need to upload the GAAPEXP.TXT file you generated via the USAS system, USAEXP/GAAPEXP program.
See Import USAS Cash Activity for details on how to upload the GAAPEXP.TXT file into the Web-GAAP system.
Step 4
Once the cash data has been uploaded, fund code mapping will need to be done in order to view the Legacy Cash Reports.
Please note, if you are only utilizing the Web-GAAP application to obtain the following reports you may skip this step. You do NOT need to map funds or designate major funds to obtain these reports:
- Schedule of Expenditures by Objects for All Funds
- Schedule of Expenditures by Function and Object Categories
Essentially the fund/scc's need to be rolled up to the fund level.
There are two options available from the Setup menu to map funds.
- Mass Mapping of Funds - This option allows you to mass map funds to speed up the process.
- Maintain Fund Codes - Here you edit each fund/scc separately, but there are more options available than simply mapping the fund. You will need to use this option if you need to designate any major funds.
Step 5
After you have established the fund mapping, you'll need to verify that the Fynd-SCCs have a fund type specified. If there is not a fund type specified, the reports will not include all of the expected accounts. To verify fund types, navigate to the Setup menu and select Maintain Fund Codes. You can generate a report a look for Fund-SCC's that have no fund type specified. Next, run the Trial Balance Calculation to properly generate the Legacy Cash Reports. Please review the Trial Balance Calculation section via the Report menu option for a detailed explanation of this step.
NOTE - If you change your fund mapping after calculating the trial balance, you need to recalculate it to update the reports.
Step 6
Now that you are logged in, the cash data has been uploaded and the fund mapping is complete, you are ready to run the Legacy Cash Reports.
Please see the Old 4502 Web-GAAP Alternatives for a listing of how the Legacy Cash Reports relate to the old 4502 reports.
Legacy Cash Reports Overview displays a listing of the Legacy Cash Reports. Each link documents how to run the report and includes a sample report to view.